
 |
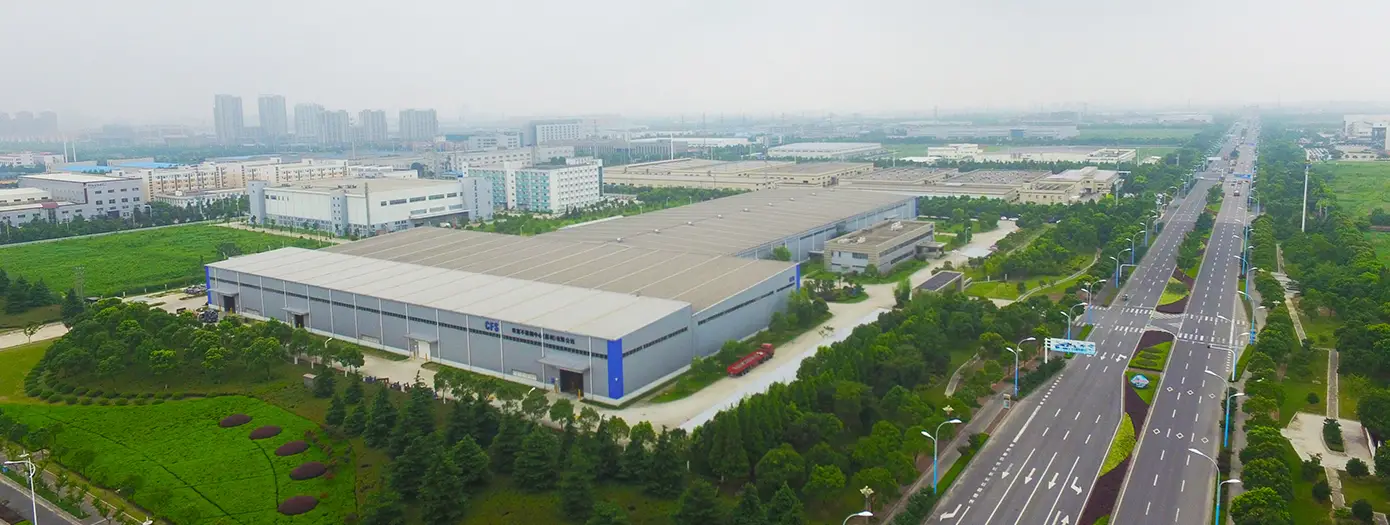
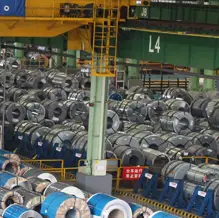
binance官方下载(苏州)有限公司成立于1995年12月19日。是一家中日合资企业。公司位于太仓经济开发区广州东路7号。占地面积66,667㎡。股东为: 阪和兴业株式会社,占股份74.00%;日本制铁株式会社,占股份24.83%; 太仓娄城资产投资管理有限公司,占股份1.17%。 查看全部公司介绍→ |


|
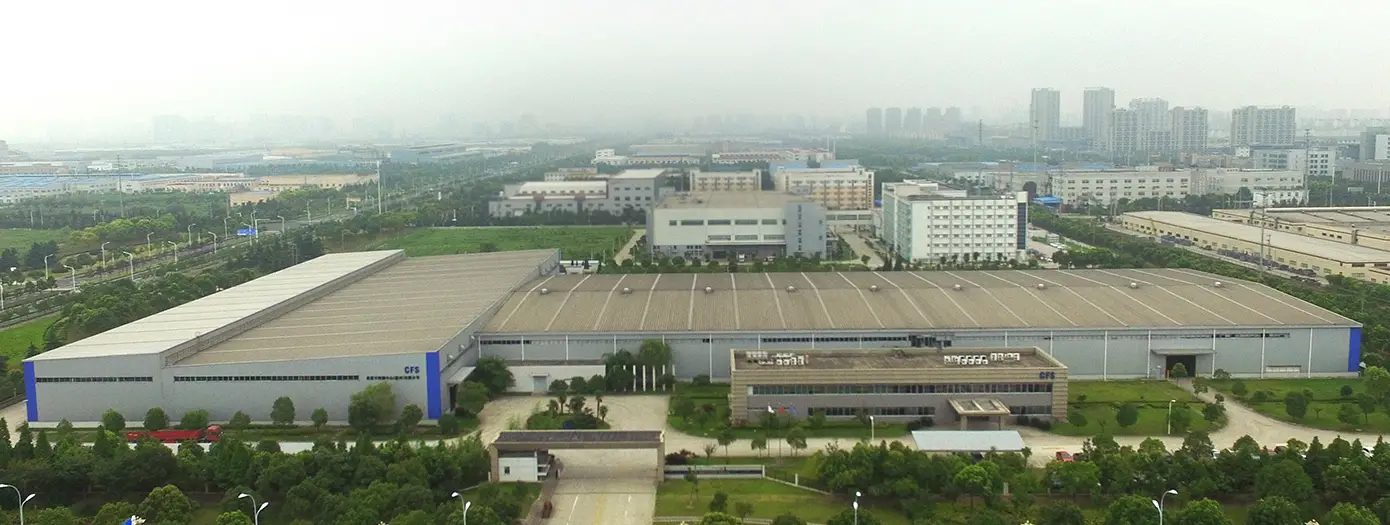
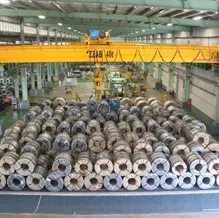
binance官方下载(苏州)有限公司成立于1995年12月19日。是一家中日合资企业。公司位于太仓经济开发区广州东路7号。占地面积66,667㎡。股东为: 阪和兴业株式会社,占股份74.00%;日本制铁株式会社,占股份24.83%; 太仓娄城资产投资管理有限公司,占股份1.17%。 查看全部公司介绍→ |